
We tried three different widths before we settled on one. Twelve inches was too wide, 8 was too small and would have left weird slivers at the bottom and top. We ended up measuring the wall and dividing it by the number of stripes we wanted so that they would come out evenly. 9 1/2" was the sweet spot.

After we figured out how far apart to make our stripes, we began measuring. We started at the bottom and went across using a yard stick to measure. It's debatable whether to start at the top or bottom, but the bottom worked out for us. :) We marked 9 1/2" every foot or so across until we got to the other side. Then, we measured up 9 1/2" and marked the second line across and so on until we got to the top. Our wall looked like a giant Geoboard when we were finished.

After we marked up the wall, Hubby played a giant game of connect the dots, using the yard stick to draw a straight line from dot to dot. He found that going in three foot sections worked well for him. I went behind him with the painters tape and taped off the lines. I was super careful to make sure my tape was straight and followed the lines exactly. I used one foot strips of tape at a time to make it easier to get a straight line. I also taped off the corners so I wouldn't get paint on the adjoining walls.

I noticed the tape wasn't sticking really tightly and remembered reading on other blogs to score the tape with a credit card. I scored all the tape really well and it worked like a charm. All ready to paint!

Here's a blurry phone pic of the beginning of the painting progress. I quickly decided trimming was unnecessary all the way across and just trimmed the corners and rolled the lines, making sure to get the edges really well with the roller.


All painted and ready to take the tape off! I called Hubby in for the grand reveal, aka taking off the tape...just too exciting to do without him! :)

And here's the first snapshot of the wall from our phone! Still wet, but the lines turned out crisp and straight! Success!

Here it is all dry. LOVE IT! Just wish I had a wide angle lens so I could get the whole thing in the picture! I will try to get a picture of the whole thing with my phone, but for now, this will have to do. SO excited about it! Thanks, Hubby, for tackling this project with me and not thinking I'm a crazed lunatic! ;)
We used Watery and Hearts of Palm, both HGTV Home paints by Sherwin Williams in case anyone was wondering about colors.
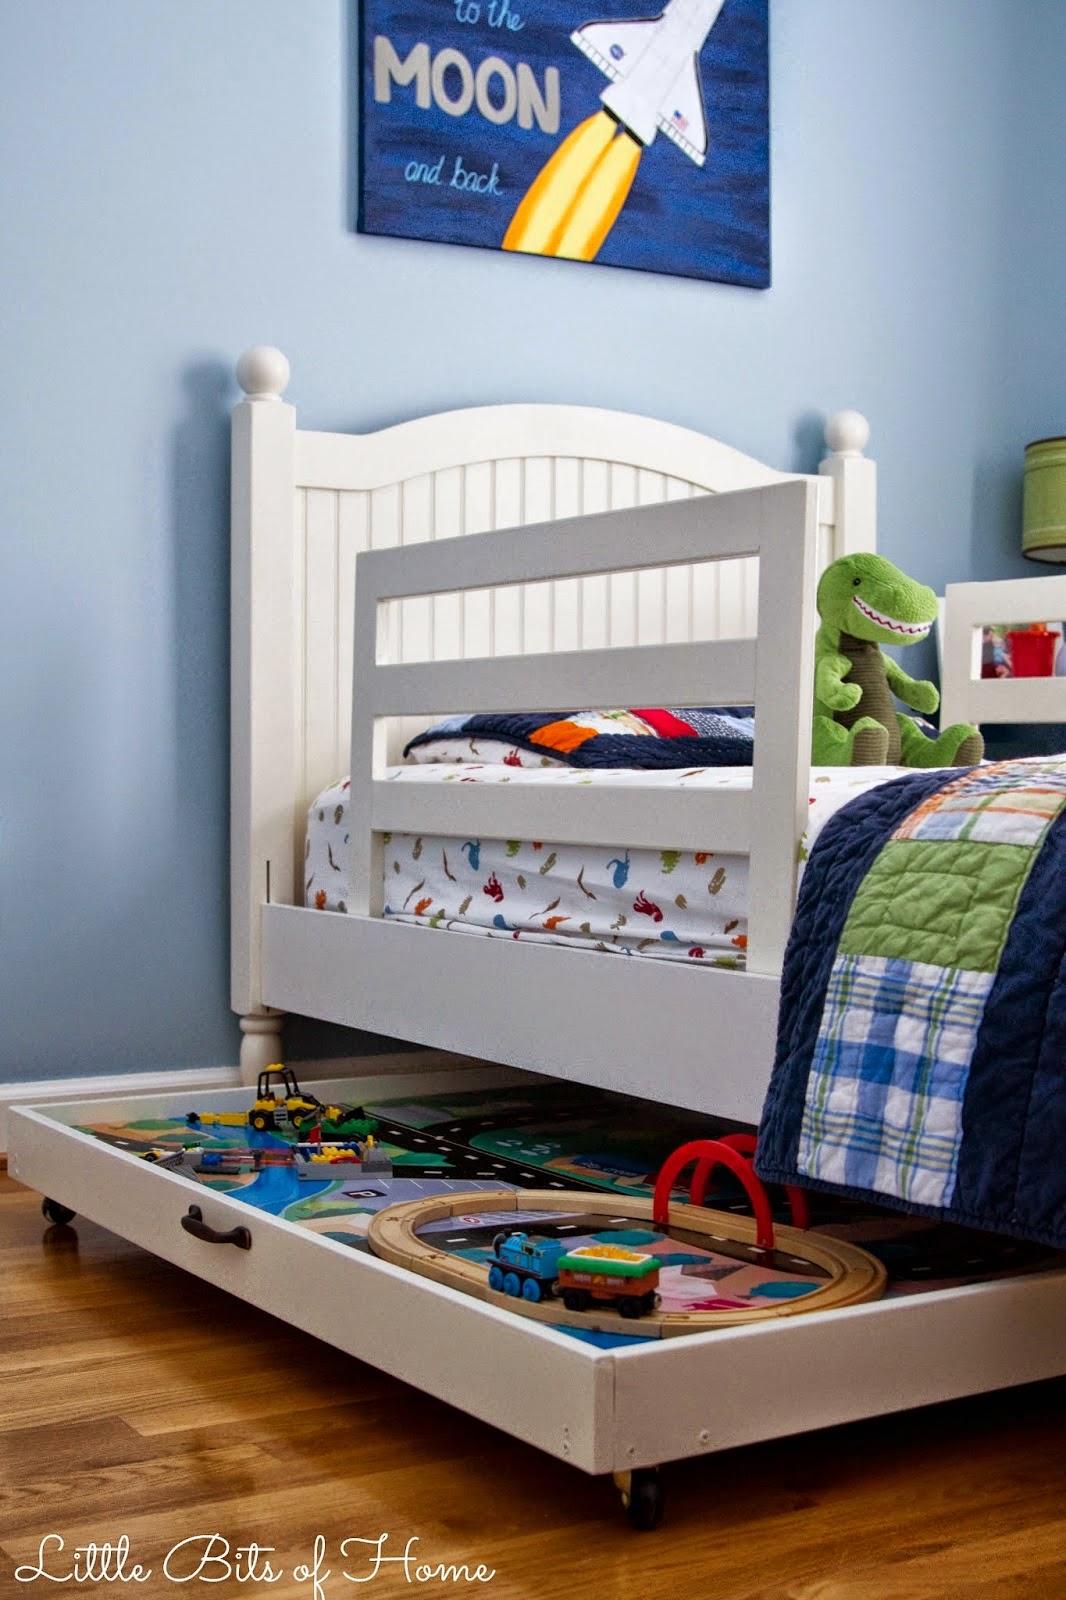
Little One loves the stripes, and so do we. I'll call that a success! Yay! Still lots to do in this room, but it's already feeling more fun in here!
Linking up to Thrifty Decor Chick!


No comments:
Post a Comment